
Your car’s engine is the heart of your vehicle — and engine oil is the lifeblood that keeps it running smoothly. Without the right amount and quality of oil, engine parts grind together, friction increases, and serious damage can occur. The good news? You don’t have to be a professional mechanic to keep your engine in great condition.
One of the simplest and most important maintenance tasks you can do is checking your car’s engine oil. It takes just a few minutes, costs nothing, and can save you from expensive repairs. In this detailed guide, you’ll learn the quick and easy way to check your car’s engine oil, why it’s so important, and tips to ensure your vehicle runs efficiently for years to come.
Why Checking Engine Oil Matters
Many drivers underestimate the importance of engine oil, but it does far more than just lubricate moving parts. Here’s why it’s essential:
Lubrication – Oil prevents metal parts from grinding against each other, reducing wear.
Cooling – Oil absorbs heat from engine components and helps prevent overheating.
Cleaning – Oil carries dirt, debris, and metal particles away from vital engine parts.
Sealing – Oil helps seal gaps between pistons, rings, and cylinder walls for better efficiency.
Without enough clean oil, your car risks:
Overheating
Increased friction and wear
Sludge buildup
Complete engine failure
Simply put: Checking your oil regularly is like giving your engine a health check-up.
How Often Should You Check Your Engine Oil?
While many modern cars have oil sensors, relying solely on warning lights isn’t enough. A sensor might fail, or it may only trigger when it’s already too late.
General rule:
Check at least once a month
Before any long road trip
After noticing oil spots under your car
If your engine sounds louder than normal
For older cars or vehicles with high mileage, check more frequently — they may consume oil faster.
What You Need Before You Start
You don’t need fancy tools, but a few basic items make the process cleaner and easier:
A clean cloth or paper towel
Gloves (optional, for cleaner hands)
A level parking space
Good lighting (daylight or a flashlight if indoors)
Step-by-Step: Quick & Easy Way to Check Your Car’s Engine Oil
Step 1: Park on Level Ground
Parking on a slope can cause oil to settle to one side of the oil pan, giving an inaccurate reading. Always park on flat ground.
Step 2: Turn Off the Engine and Let It Cool
After driving, wait at least 5–10 minutes before checking. This allows oil to drain back into the pan for an accurate measurement.
Step 3: Open the Hood and Find the Dipstick
The dipstick is usually marked with a brightly colored handle — yellow, orange, or red.
If you’re not sure where it’s located, check your car’s manual.
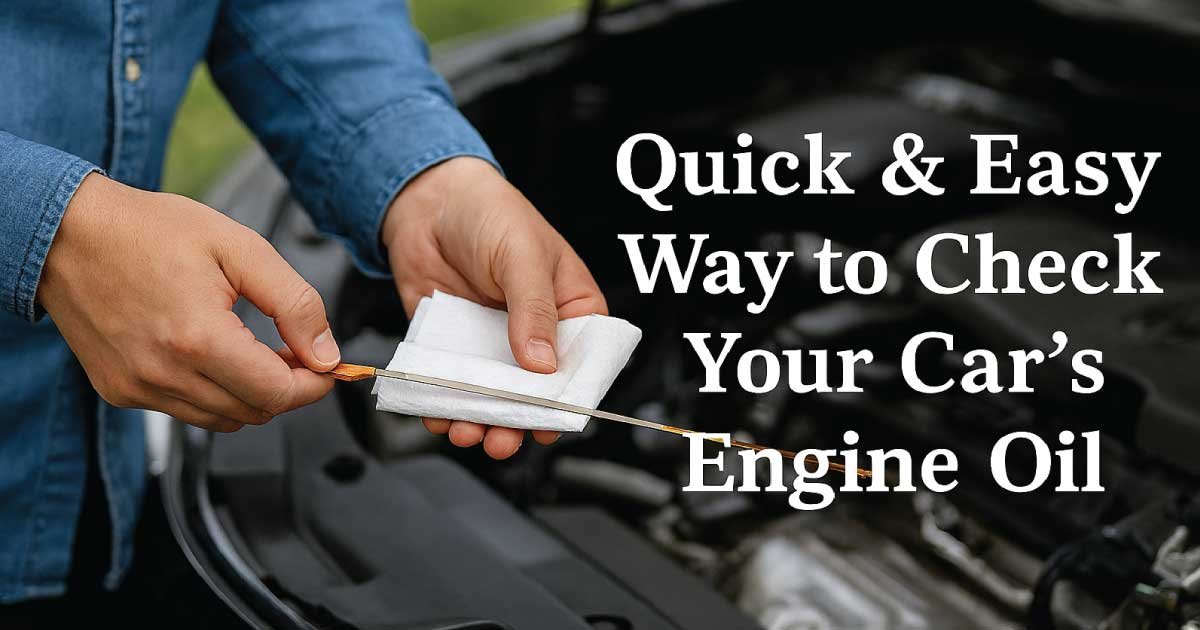
Step 4: Pull Out the Dipstick and Wipe It Clean
Remove the dipstick completely and wipe off all oil using a cloth or paper towel. This removes any old oil residue so your reading is clear.
Step 5: Reinsert and Remove Again
Place the dipstick fully back into its tube, wait a few seconds, and pull it out again. This second pull will give you the correct oil level.
Step 6: Read the Oil Level
The dipstick will have two marks — usually labeled MIN and MAX:
If the oil is between these marks, your level is fine.
If it’s at or below MIN, you need to add oil.
Step 7: Check Oil Condition
Level isn’t the only thing that matters — quality is equally important.
Fresh oil – Amber or golden color
Dirty oil – Dark brown or black
Burnt smell or metallic particles – Get the engine inspected immediately
What to Do If the Oil Is Low
If your oil is below the recommended level:
Find the oil filler cap (usually labeled “Engine Oil”).
Remove the cap and add the correct type of oil (check your manual for the grade).
Pour slowly — overfilling can damage the engine.
Wait a minute, recheck the dipstick, and stop once it’s between MIN and MAX.
Extra Tips for Accurate Oil Checks
Check in good lighting so you can clearly see oil color and level.
Use the same oil brand/type already in your engine when topping up.
Don’t ignore oil warning lights — they usually mean it’s dangerously low or there’s an oil pressure issue.
Keep a quart of oil in your trunk for emergencies.
In cold weather, let the engine warm for a minute before turning it off and checking.
Common Mistakes to Avoid
Checking with the engine running – Dangerous and gives inaccurate readings.
Not wiping before measuring – Old residue can make oil look dirtier than it is.
Overfilling – Can cause foaming and reduced lubrication.
Using the wrong oil type – Always match the viscosity grade recommended by your manufacturer.
Signs Your Car Might Be Low on Oil
You should check your oil immediately if you notice:
Oil warning light on the dashboard
Loud knocking or ticking sounds from the engine
Burning oil smell
Blue smoke from the exhaust
Frequent overheating
Catching these signs early can prevent costly engine repairs.
Why DIY Checks Beat Relying on Sensors
While oil level and quality sensors are convenient, they’re not foolproof. Doing manual checks means:
You spot problems early
You catch leaks before they cause damage
You extend your engine’s lifespan
You avoid unexpected breakdowns
How to Add Oil Safely
If you’ve checked your dipstick and found the oil level is low, here’s how to top it up without risking engine damage.
Step 1: Choose the Correct Oil
Check your car’s owner’s manual for the recommended oil viscosity (e.g., 5W-30, 10W-40).
Using the wrong oil can cause poor lubrication and engine wear.
Step 2: Locate the Oil Filler Cap
Usually labeled “Engine Oil” and found on top of the engine.
Don’t confuse it with the transmission fluid cap — adding oil to the wrong place can cause major issues.
Step 3: Add Oil Slowly
Use a funnel to avoid spills.
Add half a quart at a time.
Wait a minute for oil to settle, then recheck the dipstick.
Step 4: Stop at the Right Level
The oil should be between MIN and MAX — not above MAX.
Overfilling can cause foaming, which reduces lubrication and damages seals.
How to Choose the Right Oil for Your Car
Picking the right oil isn’t just about brand — it’s about matching your engine’s needs.
Factors to consider:
Viscosity Grade – Indicates oil thickness. Lower numbers flow better in cold weather (e.g., 5W-30).
Oil Type –
Conventional – Basic, affordable, works for many older cars.
Synthetic – More durable, better for modern engines, extreme temperatures, and heavy loads.
Blend – A mix of synthetic and conventional for balanced performance.
Driving Conditions – Frequent short trips, towing, or extreme weather require high-quality synthetic oil.
Pro Tip: Stick to the oil type recommended in your manual — switching without reason can cause unnecessary wear.
Seasonal Oil Check Tips
Your oil-checking habits should adjust slightly with the seasons.
Summer: Hot temperatures thin oil faster. Check more often if you drive in extreme heat or heavy traffic.
Winter: Cold weather thickens oil, making it harder for the engine to circulate. Ensure you use winter-grade oil for easier starts.
Before Road Trips: Always check oil before long drives — highway speeds generate more heat and strain.
Long-Term Maintenance Habits
Checking your oil is just one part of keeping your engine healthy. Here are some habits that extend engine life:
Follow Oil Change Intervals
Most cars need an oil change every 5,000–7,500 miles (synthetic can last longer).
Always replace the oil filter when changing oil.
Check for Leaks
Look under the car after parking.
Oil leaks can quickly drop the level below safe limits.
Listen to Your Engine
Unusual sounds like knocking or ticking may indicate low oil pressure.
Keep Records
Note oil changes and top-ups in a logbook — it helps track consumption patterns.
Common Oil-Related Myths
Many drivers follow outdated or incorrect advice about engine oil. Let’s clear up a few myths:
Myth 1: You Must Change Oil Every 3,000 Miles
Modern oils and engines last longer — follow your manufacturer’s recommendation.
Myth 2: Dark Oil Always Means It’s Bad
Oil naturally darkens as it absorbs dirt. Color alone isn’t a reason to change it — check mileage and condition.
Myth 3: Synthetic Oil Causes Leaks
Synthetic oil doesn’t cause leaks — it may simply reveal existing ones because it flows better.
When to Get Professional Help
While checking and topping up oil is easy, there are times when a mechanic should step in:
Persistent low oil despite topping up
Oil warning light stays on after refilling
Thick sludge or metal shavings in oil
Visible leaks from engine components
A professional can check for worn gaskets, damaged seals, or internal engine issues.
Conclusion
Checking your car’s engine oil isn’t just a maintenance step — it’s a habit that protects one of your most valuable assets. By taking a few minutes each month to inspect the oil level and quality, you can avoid costly repairs, extend your engine’s life, and enjoy smoother performance.
From parking on level ground to reading the dipstick and topping up safely, the process is quick, simple, and worth every second. Combine this with regular oil changes, the right oil type, and attention to your car’s needs, and you’ll have an engine that runs reliably for years.
So the next time you’re near your car, grab a cloth, pop the hood, and give your engine the care it deserves — because a healthy engine starts with good oil.
Also Read: