
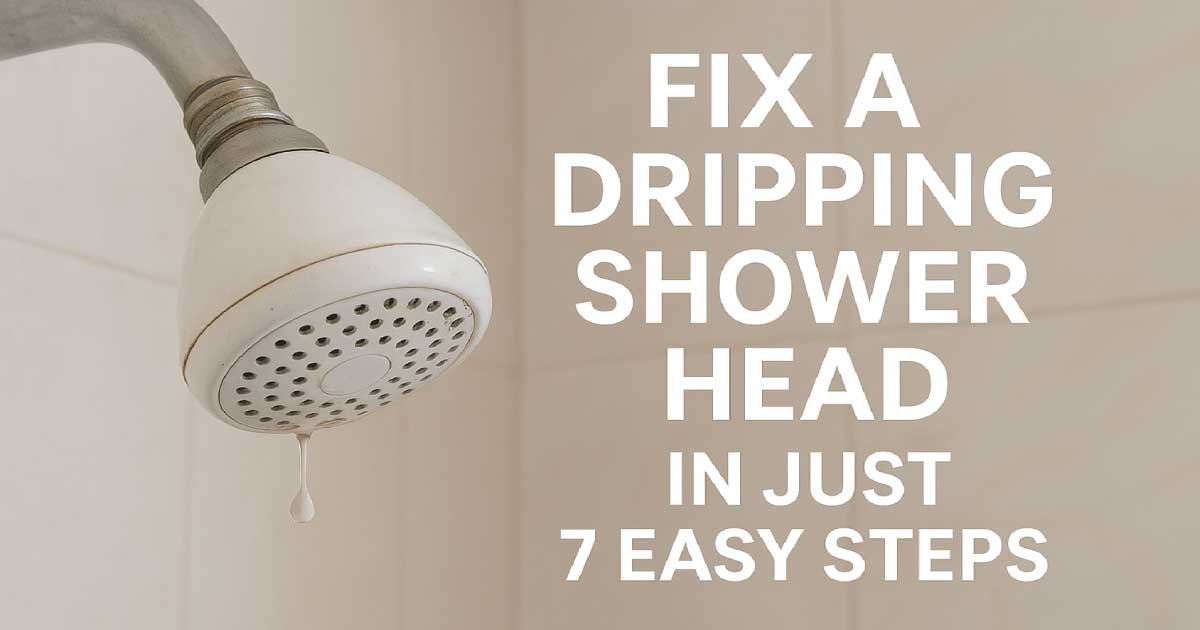
A dripping shower head may seem like a minor annoyance, but over time, it can waste hundreds of gallons of water, increase your utility bills, and even damage your bathroom walls or floors. The good news? Fixing a dripping shower head is often a simple task that you can do yourself without hiring a plumber. In this guide, we’ll walk you through 7 easy steps to stop the drip and restore your shower to proper working condition.
Why Shower Heads Drip
Before diving into the solution, it helps to understand why a shower head drips in the first place. Most leaks are caused by:
Worn-out washers or O-rings – These small rubber components prevent water from escaping. Over time, they can crack or wear down.
Mineral deposits – Hard water can leave behind calcium or lime build-up inside your shower head, preventing a tight seal.
Loose connections – Sometimes, the shower head isn’t securely attached to the pipe, causing water to leak.
Corroded parts – Older metal shower heads can corrode, especially if exposed to hard water for years.
Understanding the cause will help you apply the right fix and prevent future leaks.
Step 1: Turn Off the Water Supply
The very first step before attempting any repairs is to turn off the water supply. Some showers have a dedicated valve, but if yours doesn’t, you can turn off the main water supply to your home.
Tip: After turning off the water, open the shower to relieve any remaining pressure. This prevents water from spraying while you work on the shower head.
Step 2: Remove the Shower Head
To access the internal components of the shower head, you need to remove it from the pipe. Most shower heads can be unscrewed by hand, but if it’s tight, use a wrench or pliers. Be sure to:
Wrap a cloth around the shower head connection to avoid scratching the finish.
Turn the shower head counterclockwise to unscrew it.
Once removed, inspect both the shower head and the pipe for visible damage, mineral deposits, or corrosion.
Step 3: Clean Mineral Deposits
Mineral buildup is a common cause of drips, especially in areas with hard water. To clean your shower head:
Mix equal parts of white vinegar and water in a bowl.
Submerge the shower head in the solution for 1–2 hours.
Use an old toothbrush to scrub away stubborn deposits.
Pro Tip: For stubborn clogs, you can fill a plastic bag with vinegar, attach it over the shower head with a rubber band, and let it soak overnight.
Cleaning not only stops the dripping but also improves water flow and prevents uneven sprays.
Step 4: Inspect and Replace Washers or O-Rings
Inside most shower heads are washers and O-rings that create a tight seal between the head and the pipe. Over time, these components wear out, causing leaks.
How to replace them:
Remove the old washer and O-ring carefully.
Take them to a hardware store to match the exact size.
Install the new parts, ensuring they fit snugly.
Even a small crack in the washer can cause a continuous drip, so don’t skip this step.
Step 5: Reassemble the Shower Head
After cleaning and replacing worn components, it’s time to put the shower head back together:
Screw the shower head onto the pipe by hand first.
Tighten it gently with a wrench if needed, but avoid overtightening, which can damage threads.
Make sure the washer and O-ring stay in place to prevent leaks.
A properly reassembled shower head should sit securely without wobbling.
Step 6: Turn the Water Back On
With the shower head reinstalled, turn the water supply back on and test for leaks.
Slowly turn on the shower and check if water still drips.
If the drip persists, double-check that washers and O-rings are correctly seated.
Also, ensure the shower head is properly aligned with the pipe.
This step confirms whether your repairs were successful or if further adjustments are needed.
Step 7: Prevent Future Drips
Once your shower is drip-free, consider these tips to prevent future leaks:
Clean your shower head regularly to avoid mineral buildup.
Check washers and O-rings every 6–12 months, especially if you have hard water.
Use a water softener if mineral deposits are a recurring problem.
Avoid overtightening the shower head during installation.
By maintaining your shower head, you’ll enjoy a consistent water flow and avoid costly water waste.
Advanced Troubleshooting for Persistent Drips
Sometimes, even after following the basic steps, a shower head may continue to drip. Here’s what you should check:
1. Inspect the Shower Arm
The shower arm—the pipe that extends from your wall—can develop small cracks or corrosion, especially if it’s old.
Look for rust, mineral buildup, or visible damage.
If damaged, you may need to replace the shower arm. Most are inexpensive and easy to install with basic plumbing tools.
Replacing a faulty shower arm often resolves leaks that aren’t caused by the shower head itself.
2. Check the Diverter Valve (for Handheld or Dual Shower Heads)
If you have a handheld shower or a dual shower system, the diverter valve may be the culprit.
A worn or misaligned diverter can allow water to drip even when the shower is off.
To fix, disassemble the diverter and inspect for worn washers or seals.
Replace any damaged parts and reassemble carefully.
This step is crucial if your leak seems to come from the connection between multiple shower heads.
3. Look Inside the Shower Head
If the drip persists, there may be internal damage to the shower head’s internal valve or nozzle.
Plastic or metal components inside the shower head can crack or warp over time.
If cleaning and replacing washers haven’t worked, consider replacing the entire shower head. Modern shower heads are affordable and often more water-efficient.
When to Replace Your Shower Head
Even with careful maintenance, some shower heads reach the end of their lifespan. You should replace your shower head if:
It has multiple leaks that persist after replacing washers and O-rings.
The water spray is uneven due to mineral deposits that cannot be fully removed.
The metal or plastic is cracked, corroded, or rusted.
You want a more water-efficient model to save money and reduce water waste.
Modern shower heads also offer features like adjustable spray patterns, low-flow designs, and anti-clog nozzles, making replacement a practical upgrade.
Tools and Materials You May Need
For both basic and advanced fixes, having the right tools ensures the job is smooth:
Adjustable wrench or pliers (with a cloth to protect finishes)
Screwdriver (if your shower head has screws)
Replacement washers and O-rings (matched to your model)
White vinegar or commercial descaling solution
Soft brush or toothbrush for cleaning mineral deposits
Teflon tape for sealing threaded connections
With these tools, you’ll be equipped to handle virtually any shower head drip problem.
Step 8: Use Teflon Tape for a Better Seal
If your shower head continues to leak at the connection, Teflon tape can help.
Wrap the tape around the threads of the shower arm before attaching the shower head.
Make 2–3 tight wraps, ensuring the tape lies flat.
Reattach the shower head and hand-tighten, then gently use a wrench.
This prevents leaks caused by minor imperfections in the threading.
Step 9: Regular Maintenance to Prevent Future Drips
Once your shower is drip-free, regular care will keep it that way. Consider the following:
Monthly cleaning: Soak the shower head in vinegar every month if you have hard water.
Inspect washers and O-rings: Check every 6–12 months for wear or cracking.
Check pipe connections: Ensure all connections are tight but not overtightened.
Flush the shower head: Occasionally remove and flush the shower head to remove sediment.
These simple steps can extend the life of your shower head and prevent costly repairs.
Eco-Friendly Benefits of Fixing a Dripping Shower Head
Fixing a dripping shower head isn’t just about convenience—it’s also environmentally responsible:
Water conservation: Even a small drip wastes gallons of water every day.
Lower bills: Stopping leaks reduces your monthly water costs.
Prevent water damage: Continuous dripping can damage walls, flooring, or fixtures.
By addressing the problem early, you save money and help the environment.
Quick Recap: 7 Steps + Advanced Tips
Here’s a summary of everything covered in both parts:
Turn off the water supply – Always start safely.
Remove the shower head – Inspect for damage.
Clean mineral deposits – Vinegar or descaling solution works best.
Replace washers and O-rings – Fix leaks from worn components.
Reassemble the shower head – Avoid overtightening.
Turn water back on and test – Ensure drip-free operation.
Prevent future drips – Regular maintenance and water softening.
Advanced troubleshooting – Check shower arm, diverter, and internal parts.
Use Teflon tape – Seal threaded connections.
Consider replacement – When the shower head is old or damaged.
Following these steps guarantees a long-lasting solution to your dripping shower head problem.
Final Thoughts
A dripping shower head is a minor inconvenience that can turn into a bigger problem if ignored. Fortunately, with the right tools, a little patience, and this step-by-step guide, you can fix it yourself in just a few hours.
Remember, prevention is key. Regular cleaning, maintenance, and timely replacement of worn parts not only keeps your shower working properly but also saves water and money over time. Whether you’re dealing with minor drips or stubborn leaks, these methods will ensure your shower stays efficient, reliable, and enjoyable.
Also Read: