
Introduction
Your car’s engine works hard every time you hit the road. But just like you need clean air to breathe properly, your car’s engine needs clean air to run efficiently. This is where the air filter comes in. It prevents dust, dirt, and other harmful particles from entering your engine. Over time, however, the filter gets dirty and clogged, reducing performance and fuel efficiency.
Replacing your car’s air filter is one of the simplest and most cost-effective maintenance tasks you can do at home. It requires little to no mechanical expertise and can save you money by avoiding unnecessary mechanic visits.
In this complete guide, we’ll walk through what an air filter is, signs that it needs replacement, tools required, step-by-step instructions, tips, mistakes to avoid, and benefits of regular replacement. By the end, you’ll feel confident enough to handle this job yourself.
What is an Air Filter?
An air filter is a rectangular or cylindrical component made of pleated paper, foam, or cotton, encased in a rubber or plastic frame. Its main role is to trap dust, debris, pollen, and insects from the air before it enters your car’s engine. Without it, contaminants would mix with fuel during combustion, potentially damaging engine components and reducing efficiency.
Cars usually have two types of air filters:
Engine Air Filter – ensures clean air enters the engine for combustion.
Cabin Air Filter – cleans the air that enters the car’s interior through the AC or heating system.
In this guide, we’ll focus mainly on replacing the engine air filter, though the cabin filter replacement is similar.
Why Replacing the Air Filter is Important
A clogged or dirty air filter may seem like a small issue, but it can lead to big problems if ignored. Here are some key reasons why replacing it regularly is crucial:
Improved Engine Performance – Clean air helps your engine burn fuel efficiently.
Better Fuel Economy – Dirty filters reduce mileage by making the engine work harder.
Prolonged Engine Life – Prevents dirt and debris from causing wear and tear.
Reduced Emissions – Cleaner combustion means fewer harmful gases.
Smooth Driving Experience – Your car accelerates more easily with a clean filter.
How Often Should You Replace an Air Filter?
There isn’t a universal rule for replacement since it depends on driving conditions and car type. However, general recommendations are:
Every 12,000 to 15,000 miles (19,000–24,000 km)
At least once a year for most vehicles
More frequently if you drive in dusty or polluted environments
Always check your car owner’s manual for the manufacturer’s recommendation.
Signs That Your Air Filter Needs Replacement
If you’re not sure whether your air filter is due for a change, look out for these symptoms:
Reduced fuel efficiency – You visit the gas station more often.
Sluggish acceleration – Car feels heavy or less responsive.
Black smoke from the exhaust – Indicates incomplete combustion.
Check Engine Light on – A clogged filter can trigger error codes.
Odd engine noises – Whistling or coughing sounds may appear.
Visual inspection – If the filter looks black, dusty, or clogged, it’s time to replace it.
Tools and Materials Needed
One of the best things about replacing an air filter is that you don’t need a full toolbox. In most cases, you’ll only need:
A new air filter (specific to your car model)
Screwdriver or socket wrench (if the air box has screws or clips)
A clean rag (optional, to wipe dust inside the air box)
Gloves (optional, for cleanliness)
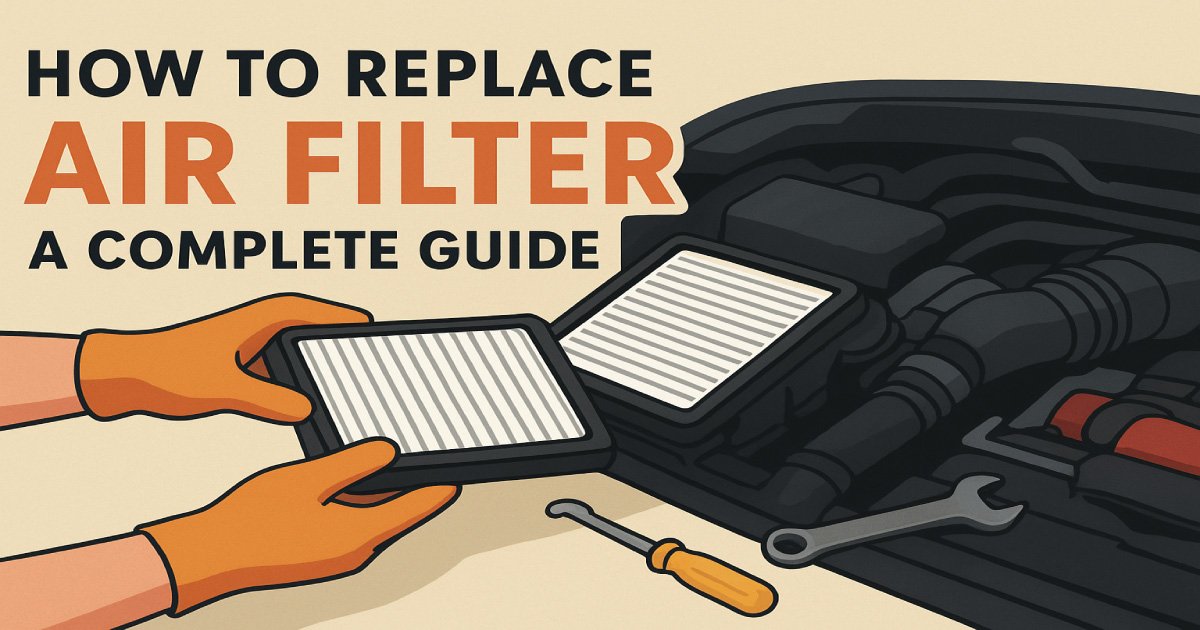
Step-by-Step Guide: How to Replace an Air Filter
Follow these simple steps to change your car’s air filter:
Step 1: Park and Prepare
Park your car on a flat surface.
Turn off the engine and remove the key.
Open the hood and secure it with the prop rod.
Step 2: Locate the Air Filter Housing
The air filter is usually inside a plastic box near the engine, connected to a large air intake hose.
Look for a rectangular or square box with clips, screws, or fasteners.
Step 3: Open the Housing
Release the clips or remove the screws using a screwdriver or wrench.
Carefully lift the cover.
Step 4: Remove the Old Filter
Take out the filter and note its orientation (how it sits inside).
Inspect it—if it looks dirty, clogged, or blackened, replacement is necessary.
Step 5: Clean the Air Box (Optional)
Use a clean rag or vacuum to remove dust and debris inside the housing.
Avoid letting dirt fall into the intake.
Step 6: Insert the New Filter
Place the new filter in the same orientation as the old one.
Ensure it sits snugly inside the housing.
Step 7: Close the Housing
Replace the cover and secure clips or screws tightly.
Double-check that everything is sealed correctly.
Step 8: Final Check
Start the engine and let it idle.
Ensure there are no unusual sounds or vibrations.
That’s it—you’ve successfully replaced your car’s air filter!
Mistakes to Avoid When Replacing Air Filter
Many beginners make small mistakes during replacement. Here’s what to avoid:
Forcing the filter in – If it doesn’t fit easily, it’s likely the wrong filter.
Leaving debris inside – Dirt inside the housing can harm your engine.
Not sealing properly – A loosely closed air box can allow unfiltered air inside.
Using cheap, low-quality filters – They may not last long or trap fine particles.
Forgetting the orientation – Always place the filter in the same position as before.
Benefits of Replacing Air Filter Regularly
By now, you’ve learned how easy the process is. But what do you gain by doing it on time?
Save money on fuel – Up to 10% better mileage.
Lower maintenance costs – Protects engine components from damage.
Environment-friendly driving – Reduced emissions and cleaner exhaust.
Enhanced comfort – Cabin air filter replacement means fresher air inside.
Peace of mind – Knowing your engine breathes clean air extends vehicle lifespan.
Professional vs DIY Replacement
Should you replace it yourself or let a mechanic handle it? Let’s compare:
| Factor | DIY Replacement | Mechanic Replacement |
|---|---|---|
| Cost | $10–$40 (filter only) | $40–$100 (labor + filter) |
| Time | 10–15 minutes | 30–60 minutes |
| Skill | Very easy | No effort |
| Convenience | At home anytime | Requires shop visit |
For most people, DIY is the smarter option, but if you’re unsure or if the filter is hard to access, a professional is fine.
Tips for Keeping Your Air Filter in Good Condition
Check it every oil change – Quick inspection prevents surprises.
Use OEM or high-quality filters – They fit better and last longer.
Drive smoothly – Avoid excessive idling or dusty shortcuts when possible.
Replace both filters – Engine and cabin filters often need replacement around the same time.
Final Thoughts
Replacing your car’s air filter is one of the easiest maintenance tasks you can do yourself. It doesn’t require special tools, takes only a few minutes, and offers immediate benefits in performance, fuel economy, and engine health.
Whether you drive in the city or off-road, keeping your filter clean ensures your car breathes fresh air just like you do. By following the step-by-step guide above, you can handle this task confidently and save money at the same time.
So, the next time your car feels sluggish or consumes more fuel than usual, don’t ignore the possibility of a dirty filter—replace it and enjoy a smoother, more efficient ride.
Also Read: