
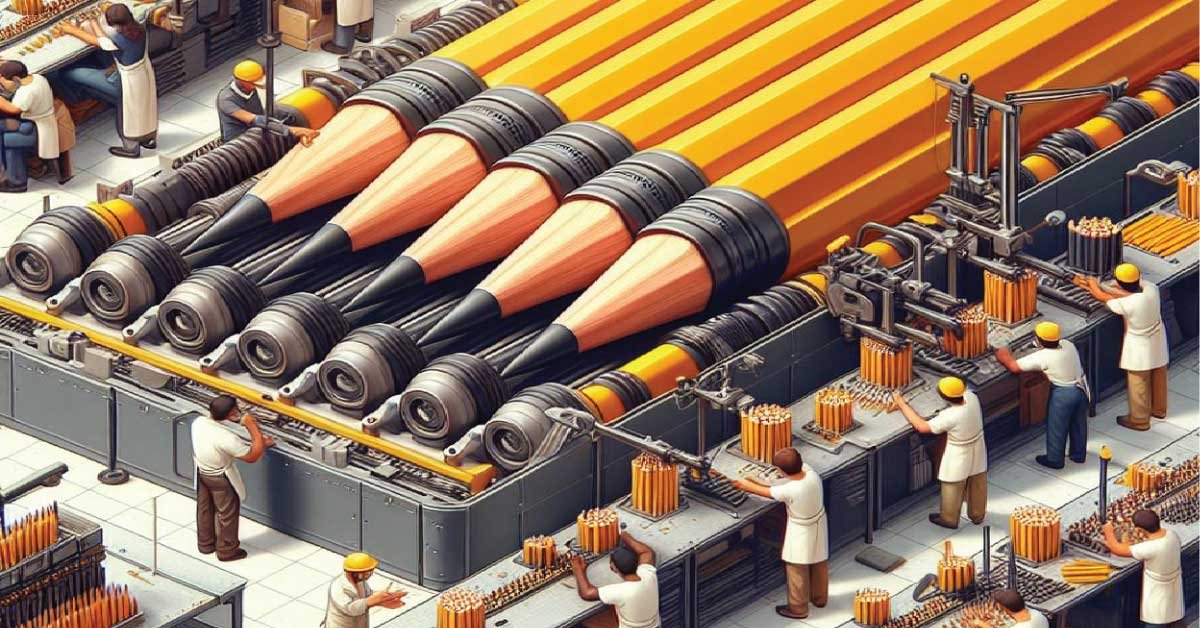
Pencils are one of the most widely used writing instruments, found in classrooms, offices, and art studios worldwide. While they may seem simple, the manufacturing process of a pencil involves multiple steps, precise craftsmanship, and high-quality materials. From sourcing raw materials to the final packaging, each stage requires careful attention to detail.
In this comprehensive guide, we will explore how a pencil is made, breaking down the process step by step.
Understanding the Basic Components of a Pencil
Before delving into the pencil manufacturing process, it is essential to understand the key components that make up a standard pencil:
- Graphite Core – The writing material, often mixed with clay for durability and different hardness levels.
- Wood Casing – Typically made from cedarwood or basswood, providing protection and easy sharpening.
- Ferrule – The small metal band that holds the eraser in place.
- Eraser – Usually made from rubber or synthetic materials for erasing graphite marks.
Each of these components is carefully designed and manufactured to create a functional and durable writing instrument. Now, let’s break down the step-by-step manufacturing process of a pencil.
Also Read:
Step 1: Sourcing and Processing the Raw Materials
The pencil production process begins with gathering the essential materials:
Graphite and Clay
The core ingredient of a pencil is graphite, which is mined from natural sources. However, raw graphite is too soft to be used alone, so it is mixed with clay to create different levels of hardness (e.g., HB, 2B, 4H).
- The graphite is extracted, purified, and ground into fine powder.
- It is then mixed with clay and water to form a smooth, moldable paste.
- The ratio of graphite to clay determines the pencil’s hardness—more clay makes the core harder (H grades), while more graphite makes it softer (B grades).
Wood Selection
The wood casing is a crucial part of a pencil, as it provides structure and allows for sharpening. High-quality pencils use softwood, primarily cedarwood or basswood, due to their durability, lightweight nature, and smooth texture.
- Logs are harvested and dried to reduce moisture content.
- The wood is cut into thin slats that will later hold the graphite core.
- Each slat is carefully inspected for imperfections before moving to the next stage.
Rubber or Vinyl for Erasers
Some pencils come with attached erasers, made from either natural rubber or synthetic vinyl materials. The erasers are manufactured separately before being attached to the pencil later in the process.
Step 2: Preparing the Graphite Core (Lead Production)
Despite being called “lead,” the core of a pencil does not contain any real lead—it is a combination of graphite and clay.
Here’s how the pencil lead is manufactured:
- Grinding the Graphite – The raw graphite is ground into an ultra-fine powder.
- Mixing with Clay – Different proportions of clay and graphite are blended to create varying hardness levels.
- Shaping the Core – The mixture is pushed through an extrusion machine, forming thin rods.
- Baking the Leads – The rods are placed in a kiln and heated at high temperatures (around 1000°C) to remove moisture and harden the lead.
- Oil or Wax Coating – A thin layer of oil or wax is applied to make the graphite glide smoothly on paper.
Once cooled, the graphite leads are cut into standard lengths, typically 18 cm, before being inserted into wooden casings.
Also Read:
Step 3: Creating the Wooden Casing
To encase the graphite core, the wood processing for pencils involves several precise steps:
- Cutting the Wood – Logs are sliced into thin rectangular slats (typically 1mm thick).
- Grooving – Parallel grooves are carved into the slats, allowing space for the graphite cores.
- Placing the Lead – The graphite rods are carefully placed inside the grooves.
- Laminating the Slats – Another wooden slat is glued on top, sandwiching the graphite inside.
- Pressing and Drying – The assembled slats are pressed together and left to dry to ensure stability.
Once dried, these pencil sandwiches move on to shaping and smoothing.
Step 4: Shaping and Smoothing the Pencil
Once the wooden blanks have dried, they go through a series of machining processes to transform them into recognizable pencils.
Key steps in shaping a pencil:
✅ Cutting into Individual Pencils – The large wood slabs are sliced into single pencil units.
✅ Shaping the Pencils – The pencils are shaped into round, hexagonal, or triangular designs.
✅ Sanding and Smoothing – The pencils are polished to remove rough edges and imperfections.
At this stage, the pencils have taken their final shape but still lack color and branding.
Step 5: Painting and Branding
To make pencils more visually appealing and durable, manufacturers apply protective coatings and branding.
📌 Base Coating – A primer is applied to help the paint adhere to the wood.
📌 Color Painting – Pencils are painted in different shades, often yellow for standard writing pencils.
📌 Branding and Stamping – The brand name, model number, and hardness grade (HB, 2B, etc.) are stamped on each pencil using a heated embossing tool.
Once the paint dries, the pencils are ready for the next step.
Step 6: Attaching the Eraser and Ferrule
For pencils that come with erasers, an additional process is followed:
- Ferrule Attachment – A small metal band (usually aluminum) is attached to the top of the pencil.
- Inserting the Eraser – A rubber or vinyl eraser is placed inside the ferrule.
- Crimping – The ferrule is compressed to hold the eraser firmly in place.
Some pencils, like drawing and sketching pencils, do not have erasers. Instead, they are left with a plain wooden end.
Step 7: Quality Control and Packaging
Before the pencils reach consumers, they undergo strict quality control tests to ensure they perform well.
Quality Control Measures:
✅ Checking Lead Strength – Ensuring the graphite is securely bonded inside the wood casing.
✅ Sharpening Tests – Verifying that the pencil shaves smoothly without breaking the lead.
✅ Writing Tests – Testing the graphite for smooth and consistent writing performance.
✅ Final Inspection – Inspecting each pencil for defects before packaging.
Once approved, pencils are packaged into boxes and shipped to retailers worldwide.
Environmental Considerations in Pencil Manufacturing
Modern pencil manufacturers are increasingly adopting sustainable practices to reduce environmental impact.
🌱 Using Recycled Wood – Many companies use recycled or sustainably sourced wood.
🌱 Eco-Friendly Erasers – Some pencils feature natural rubber or non-toxic synthetic erasers.
🌱 Reducing Waste – Improved manufacturing techniques minimize wood and graphite wastage.
Sustainable pencil production helps protect forests and reduces carbon footprints.
Also Read:
Conclusion
The manufacturing process of a pencil is a meticulous journey from raw materials to a finely crafted writing tool. Whether used for writing, sketching, or technical drawings, pencils remain an essential part of daily life.
Understanding the pencil production process helps us appreciate the craftsmanship and sustainability behind this everyday object. So, the next time you pick up a pencil, you’ll know the detailed process that brought it to your hands! ✏️🚀